on the next day.
Posted: December 28, 2013 Filed under: birthdays, celebrating, chocolate, christmas, cookies Leave a comment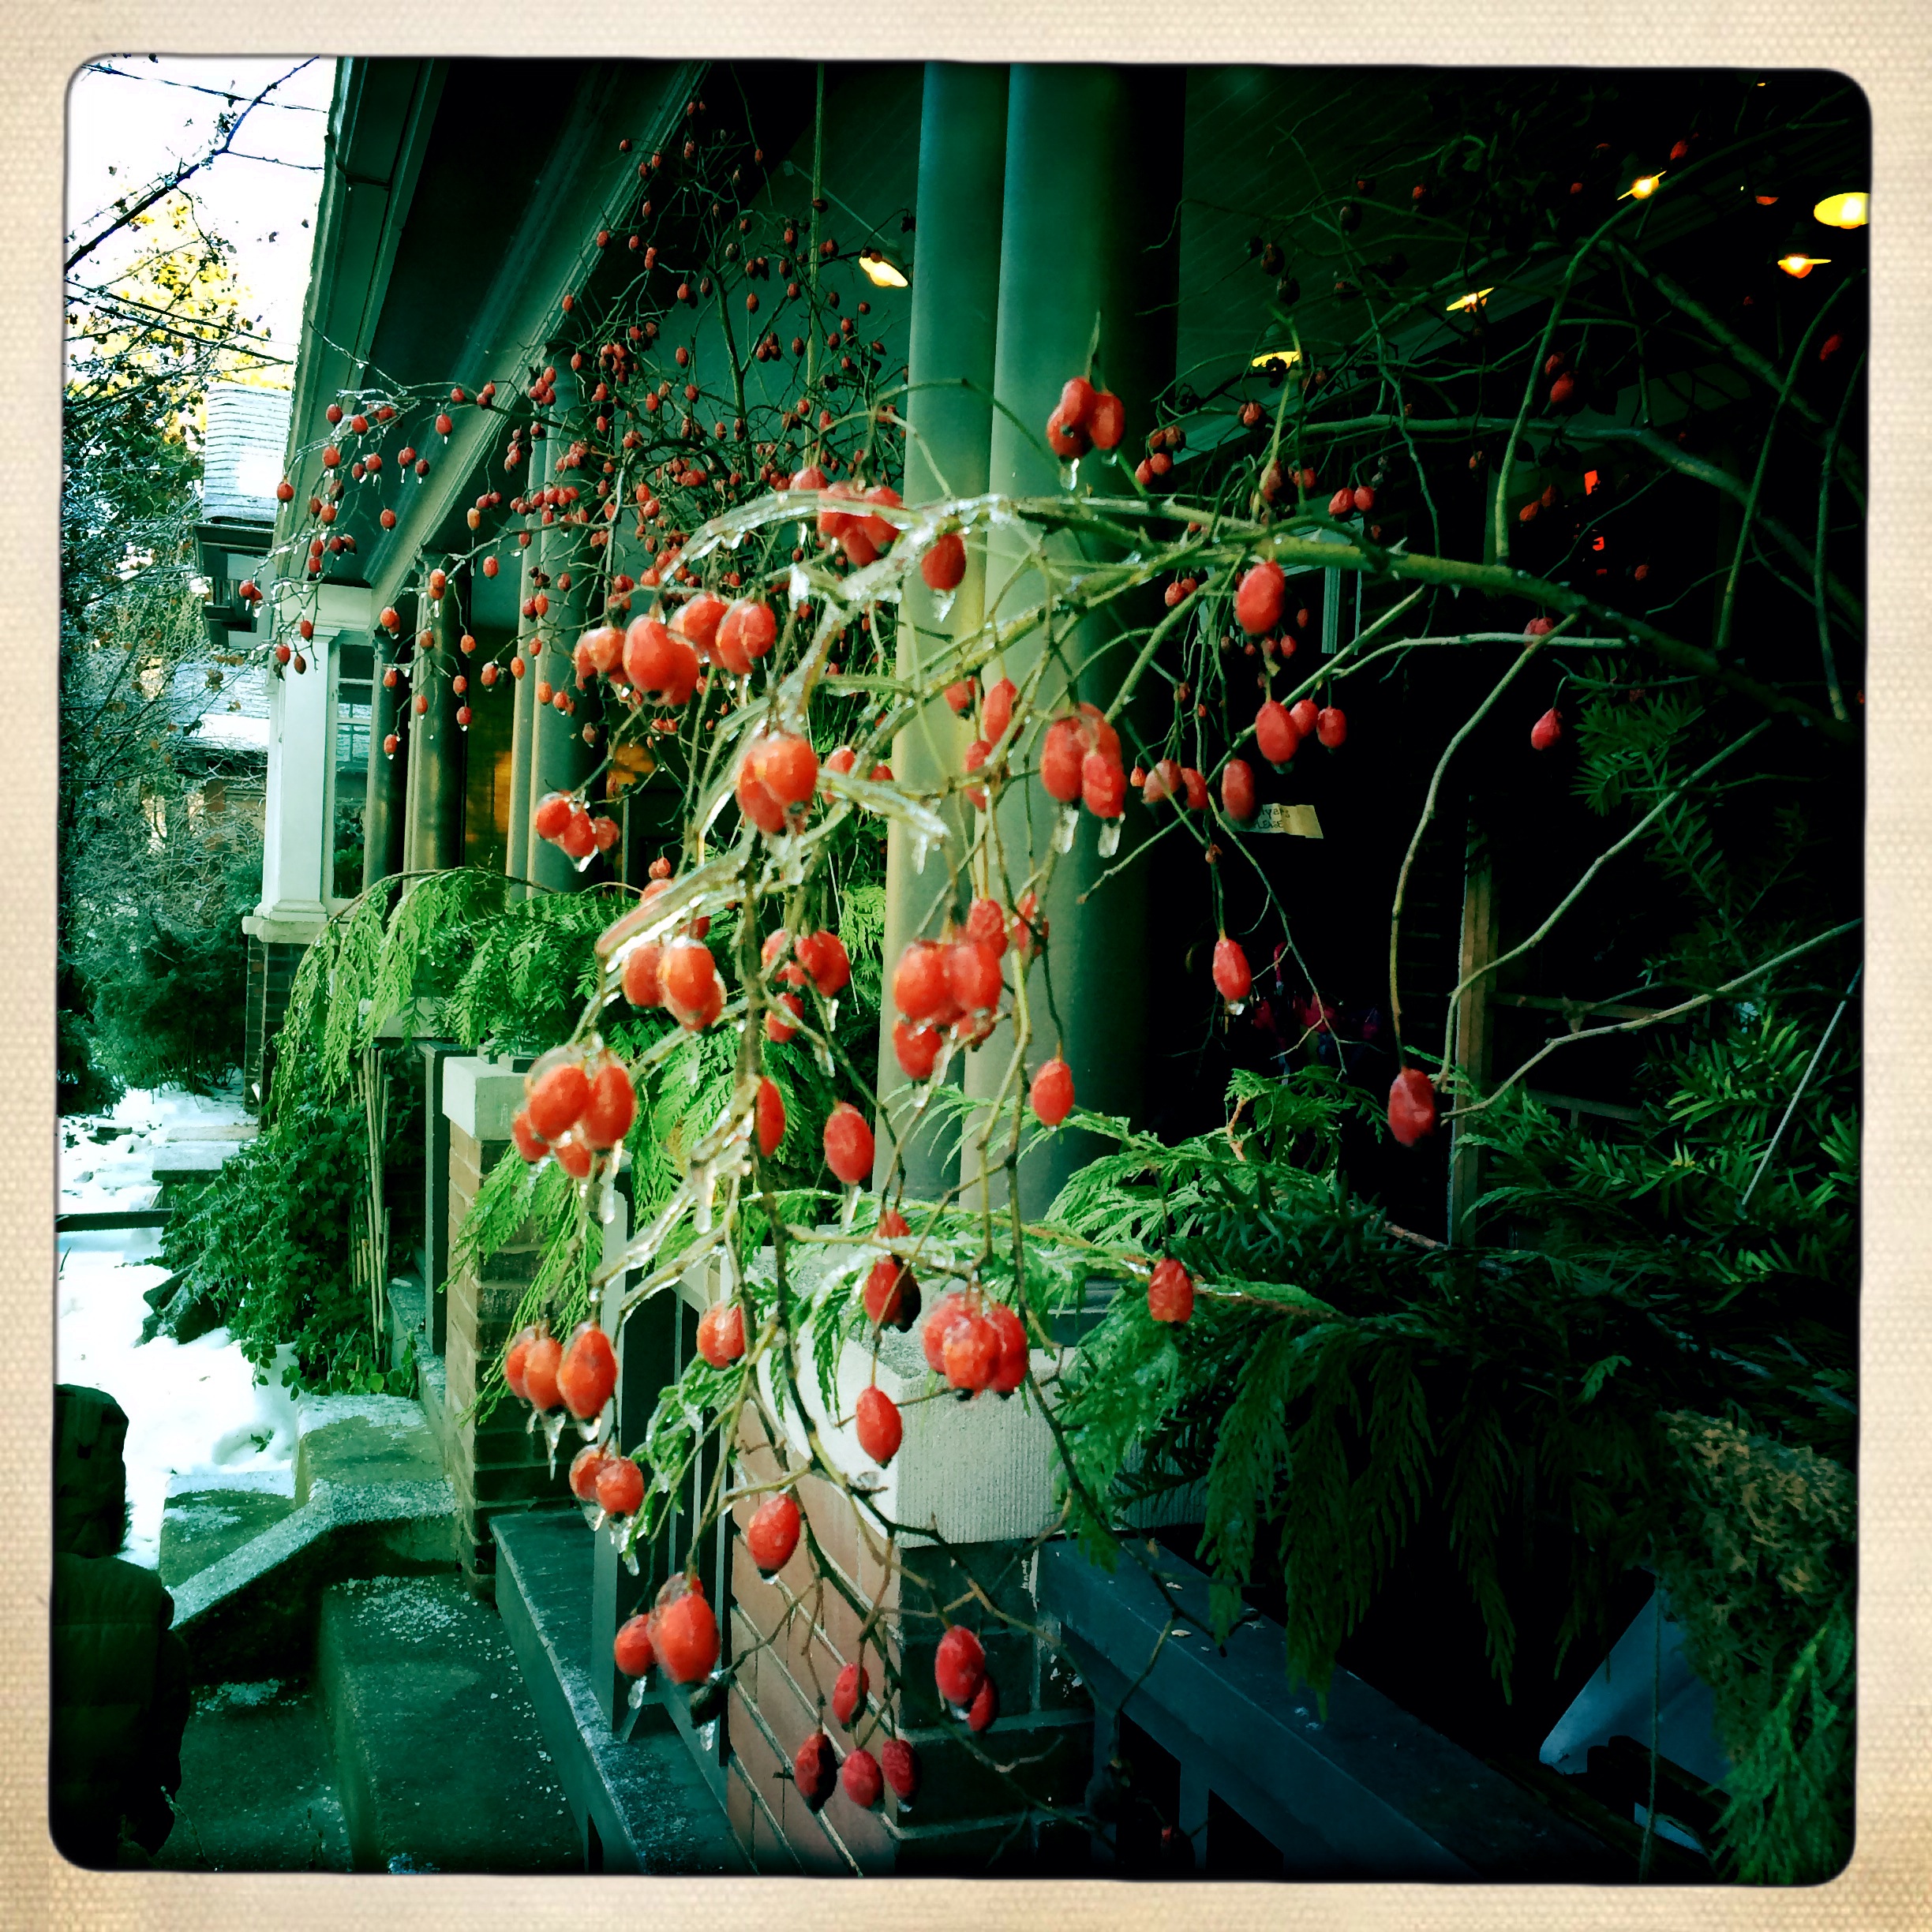
I am a big fan of boxing day.
First of all, it’s my sister’s birthday, so it seems only natural to greet the 26th of December with nearly as much fanfare as the 25th.

Also, there is something about the energy on the day after Christmas that I just adore: the house is slightly disheveled, with the detritus of yesterday’s gifting and feasting and drinking still lingering about, but it’s not so painfully messy that I feel I have to get up from the couch – and the new novel I just started – and actually deal with it.

We seem as a family to be moving around in a haze of love this week, all goodwill toward one another (read: a remarkable, if no doubt short-lived, absence of sibling strife) and small moments of joy, and none of the high anxiety-slash-anticipation inherent in the big day.
There have been many videos watched. I’ve nearly gone blind putting together a pair of Lego superheroes. We’ve skated and sledded. The sun has come out.

There is an abundance of food in the fridge and wine in the cupboard, amazing leftovers (if I do say so myself) and enough residual holiday spirit to make a batch of these cookies, which, it must be said, may actually be the best cookies I have ever made.
Chocolate Ginger Cookies
adapted from Mast Brothers Chocolate: A Family Cookbook
1/2 c soft unsalted butter
1/2 c packed brown sugar
1/4 c dark molasses
1 1/2c all purpose flour
1 tbsp cocoa powder
1 tsp baking soda
4 tsp ground ginger
1 tsp ground cinnamon
1/2 tsp ground nutmeg
1/2 tsp ground cardamom
8 oz. (240g) dark chocolate, chopped
coarse granulated sugar
Preheat oven to 350 degrees. Line two baking sheets with parchment.
In a stand mixer fitted with a paddle attachment, beat butter and sugar together until light and fluffy. Beat in molasses.
In a medium bowl, combine flour, cocoa, baking soda, ginger, cinnamon, nutmeg and cardamom. Add flour to butter mixture and beat until just combined.
Stir in chopped chocolate.
Pour a cup or so of sugar onto a plate.
Scoop up a tablespoon of dough and use your hands to roll it into a ball. Dredge in coarse sugar before placing on baking sheet. Repeat with remaining dough – I got two pans os 15 cookies each when I made these.
Bake cookies one sheet at a time, in the centre of the oven, until surface is cracked and they are barely dry at the edges, about 10 minutes. Cool on baking sheet.
Eat with abandon.
Makes 30 cookies.

indulge me.
Posted: October 16, 2012 Filed under: alcohol, baking, birthdays, chocolate 4 Comments
I tend to be a bit childish about my birthday.
Never mind that I am an adult – a parent, even! – with responsibilities and practical concerns to attend to daily; when it comes to my birthday, I insist on indulgence of all kinds.
This year was no different.
Although my actual birthday was this past Friday, I have enough wonderful friends and family in my midst that my celebration spilled into the weekend and is still, in some senses, ongoing.
So, I know I owe you more (much more!) than just this, but I hope you’ll indulge me for a few more days…
Birthday Brownies
1 1/3c soft unsalted butter
400g bittersweet chocolate, chopped – the best possible quality (I use Green and Black’s)
6 eggs, room temperature
1 tbsp vanilla
1 1/2c brown sugar
1 1/2c flour
a pinch of sea salt
1/2c white chocolate chips
1/2c chopped pecans
Preheat oven to 350 degrees. Butter a 9X13-inch baking dish and line with parchment. Fill a saucepan with water to the one-third mark, and bring to a simmer over medium-low heat.
Combine butter and chocolate chunks in a medium bowl. Set bowl over saucepan of simmering water and melt butter and chocolate together, stirring regularly with a heatproof spatula, until combined.
In another medium bowl, whisk together eggs, vanilla and brown sugar. Combine flour and salt in a separate small bowl.
Let chocolate mixture cool slightly, then whisk in egg mixture. Add flour mixture, white chocolate chips, and pecans, and beat until well combined.
Scrape batter into prepared pan and bake 20-25 minutes.
Cool completely in pan on a rack, then cut into squares.
You should get a minimum of 32, but really, the size (and level of indulgence) is completely up to you.
love is all you need.
Posted: February 13, 2012 Filed under: breakfast, chocolate, waffles 2 Comments
Love, and waffles. Happy Valentine’s Day, friends!
Red Velvet Waffles
I was given a waffle iron for Christmas and I can officially say I am obsessed. This particular recipe came together this past weekend and these have already become a new household favourite – which is exactly what you’ll be, if you can pull it together to make them tomorrow morning…
1 1/2c light spelt (or regular all-purpose) flour
1/4c unsweetened cocoa powder
1 tbsp brown sugar
1 tsp coarse sea salt (I like the crunch of the sea salt here; if you don’t have any, I’d dial it back to about a half tsp regular salt)
1 tbsp baking powder
3 eggs
1 1/2c buttermilk
1 small glob of red food colouring paste, or about a tbsp of liquid food colouring
1 tbsp vanilla
6 tbsp melted coconut oil (or unsalted butter)
1c chocolate chips
In a large bowl, sift together flour, cocoa, sugar, salt, and baking powder. In a second bowl, whisk together eggs, buttermilk, food colouring, vanilla, and oil (or butter).
Preheat waffle iron according to manufacturer’s instructions.
When waffle iron is ready, combine wet ingredients into dry, stirring gently until batter just comes together. It will lumpy. Gently stir in chocolate chips.
Using about a cup of batter per waffle, cook according to manufacturer’s instructions (mine took just shy of four minutes per waffle).
Makes four waffles.
So, so yummy.
time.
Posted: March 21, 2011 Filed under: adversity, baking, birthdays, cake, chocolate 1 Comment
I woke up this morning feeling a bit leaden.
I’ve been spoiled this past week, with generous amounts of delicious food and wine; feverless children; numerous family adventures; and time.
Especially time.
It often seems that there could not possibly be enough hours in the day to finish (let alone start) any one of the things on my various to-do lists. It can be difficult to live in the moment when one’s mind is constantly leaping forward to what the next moment, and the one after that, might hold.
This is, I think, a mother’s dilemma, and not an uncommon one at that.
But last week, my husband had some time off, and we slowed things right down. We did our best to accommodate the inevitable wildness that “springing forward” wrought on our kids’ sleep schedule. We put away our lists, and made no plans.
For seven whole days, and for the first time in what seemed like ages, it really felt like time was on our side, and it was nothing short of wonderful.
So I felt leaden this morning partly because our magical week had come to an end, and all of the pressing things that I had been ignoring were suddenly looming; partly because the view outside my window was an unpromising dull grey.
But I also woke up thinking about Japan, with the kind of helpless, hand-wringing horror that is the sole province of the distant bystander.
We have one dear friend there, and she says she is doing fine, all things considered; and the venerable Ruth Reichl has had this and this to share over the past several days, which helped.
In my own life, lately, I have come to think of time as being the greatest and most elusive of luxuries, and I am grateful to have been able to revel in it last week.
But of course, as far as luxuries go, for my safe, beautiful, healthy family and me, that’s just the tip of the iceberg.
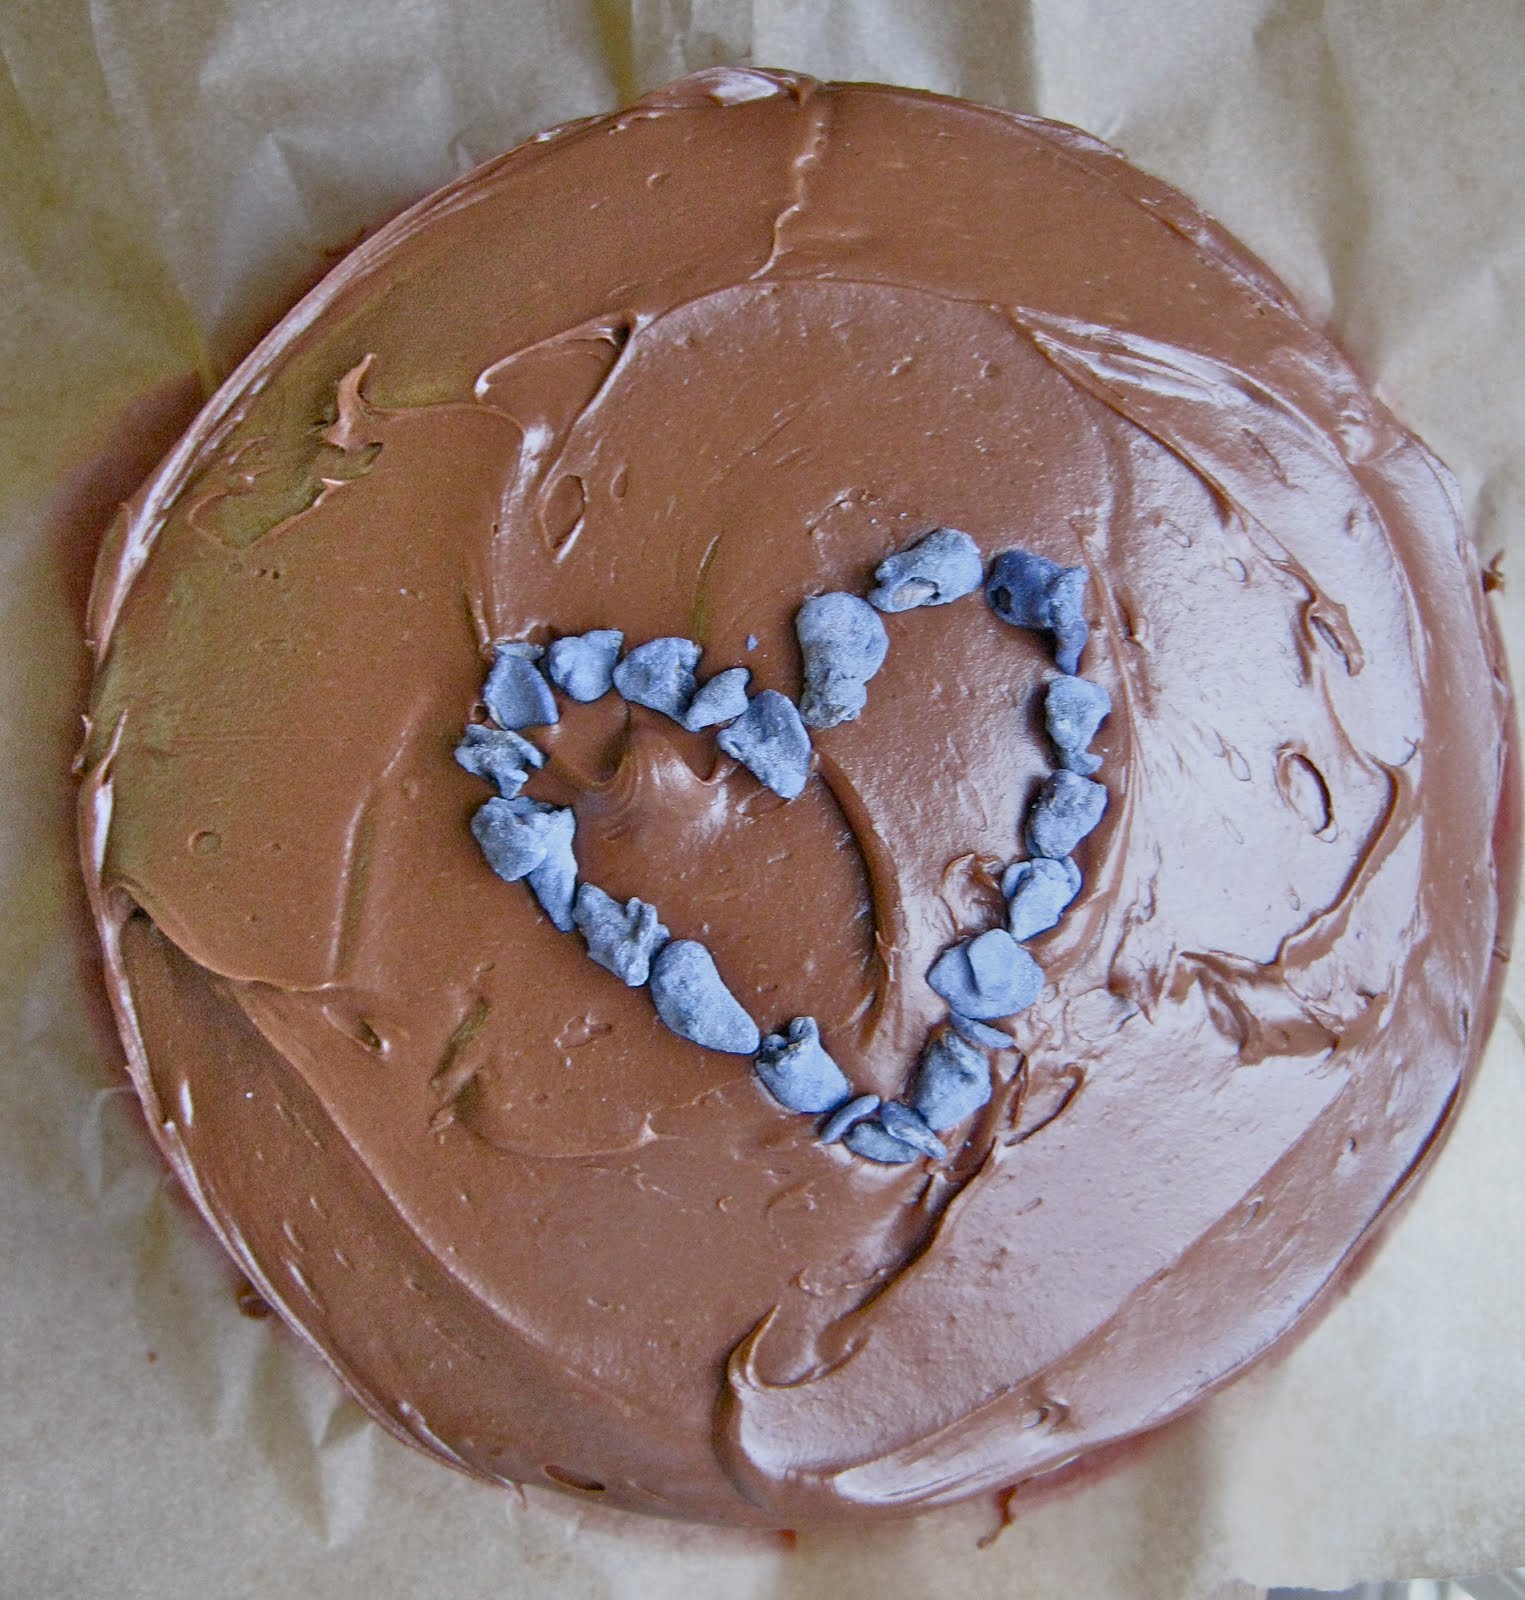
Devil’s Food Birthday Cake
adapted from Nigella Lawson’s “Kitchen”
I bet you think that I have been cooking my way through Nigella’s latest book, and you are right. I have been, and I had been loving every minute of it, until it came time to ice this luscious cake. The ganache-y topping that Nigella suggests took nearly four hours (and counting) to set, at the one moment all week when time was most definitely not on my side. So I’m offering up the icing that I made at the last possible minute as a replacement. The cake was perfect, and I bet the ganache-y icing would have been divine too, but I wouldn’t know.
For the cake:
50g cocoa powder
100g brown sugar
1c boiling water
125g soft unsalted butter
150g granulated (white) sugar
225g flour
1/2 tsp baking powder
1/2 tsp baking soda
1 tbsp vanilla extract
2 eggs, room temperature
For the icing:
175g best quality dark chocolate
675g icing sugar
350g soft unsalted butter
1-4 tbsp milk, as needed
Preheat oven to 350 degrees. lightly butter the bottoms and sides of two 8″ layer cake pans; line bottoms of pans with parchment.
Combine cocoa powder and brown sugar in a medium, heatproof bowl. Pour boiling water over cocoa mixture and whisk to combine. Set aside.
In the bowl of a stand mixer fitted with a paddle attachment, cream together butter and granulated sugar until fluffy. In a separate small bowl, sift together flour, baking powder and baking soda.
Beat vanilla into butter mixture, then add one egg with mixer running. Keep mixer running while adding a scoopful of flour mixture, then second egg. Continue mixing while adding the rest of the flour mixture. Finally, scrape cocoa mixture into bowl, and beat well to combine.
Divide batter evenly between the two prepared tins and bake 20-25 minutes, rotating once halfway through cooking time, until a tester inserted into the centre of a cake comes out clean.
Let cakes sit in their pans on a rack 5-10 minutes before turning out onto rack to cool completely.
While cakes are cooling, make icing:
In the top of a double boiler set over barely simmering water, gently heat chocolate until just melted, stirring frequently.
Place icing sugar in the bowl of a food processor and pulse to remove and lumps. Add butter and process until smooth. Scrape in cooled chocolate mixture; icing should be thick and spreadable, but if it is too pasty, add milk a few drops at a time until desired consistency is reached.
Place one cooled cake, top down, on serving plate. top with a generous dollop of icing, then place second cake on top, right side up.
Used remaining icing to frost the top and the sides of the cake.
Decorate, as my daughter did here, with coloured sugar, and serve with large glasses of milk.
Serves 8-10.
of sweethearts and stars.
Posted: December 6, 2010 Filed under: baking, bananas, breakfast, butter, buttermilk, chocolate, cranberries, flour, oats, pastry 1 Comment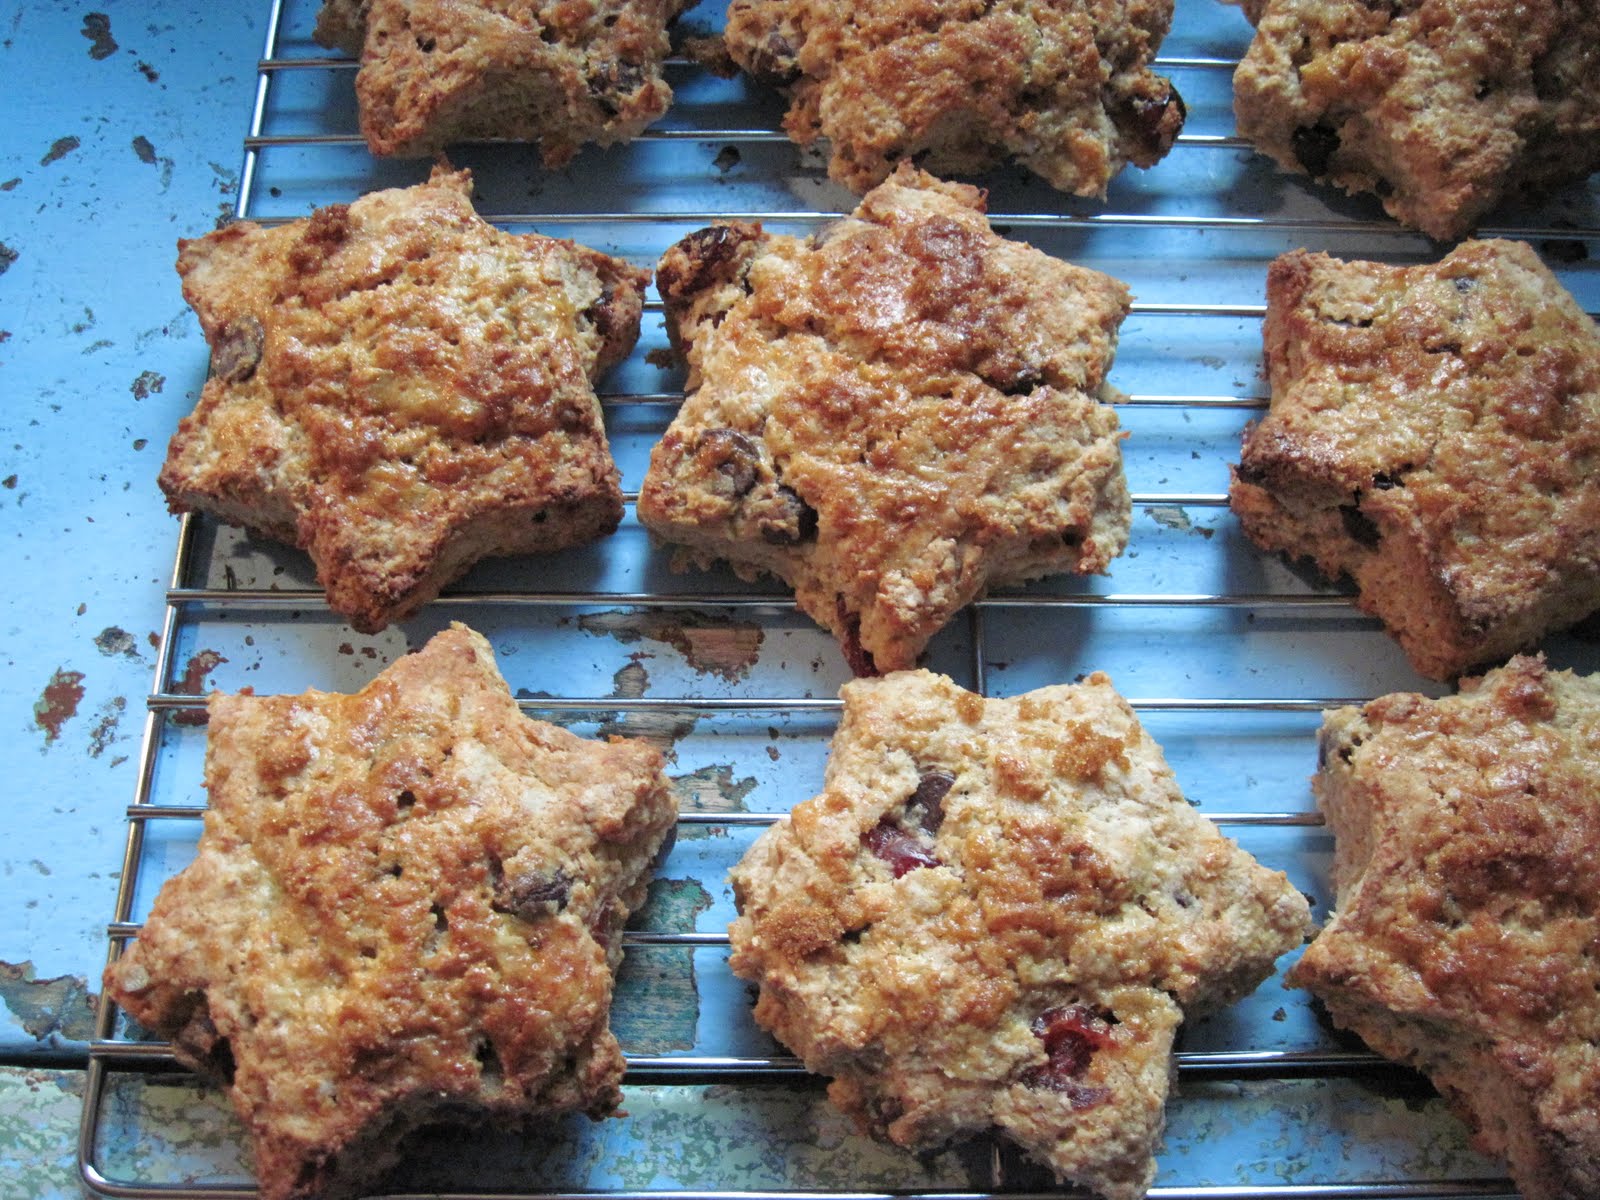
Well, hello there!
I can scarcely believe that, in effect, an entire season has just passed without my contributing a thing around here.
I have been trying to figure out how to address this last epic silence from my end; as these things go, the longer I thought about it, the more ambivalent I was about addressing it at all, and then the silence itself started to feel so insurmountable that I nearly gave up on the idea of blogging altogether.
But then, December arrived, and my husband returned home after months of (more and less) lengthy absences.
And, just like that, the festive season began around here.
My children woke up this morning to the first real snow of the season, and I woke up to the promise of a long bath, a new magazine, and coffee drunk while it is still hot.
Friends, we have so much to catch up on!
Sunday Stars
Even while single-parenting, I can’t resist the outlook-changing lure of a fresh-baked breakfast. I have been using spelt or light spelt flour of late, but for these I tried a combination of light spelt, coconut, and whole wheat flours, because that is all I had on hand!
1c large flake oats
3/4c buttermilk
1 1/2c flour
1/4 tsp baking soda
1 tsp baking powder
1 stick (1/2c) unsalted butter, cut into small cubes
1/4c brown sugar
1 large ripe banana, mashed
1/4c chocolate chips
1/4c craisins
Preheat oven to 375 degrees. Line a baking sheet with parchment.
Combine oats and buttermilk in a glass measuring cup, stir well, and set aside.
In a large mixing bowl, stir together flour, baking soda, baking powder, and a pinch of salt, if desired. Cut in butter and brown sugar until mixture is fairly uniform and resembles small peas.
Add oat mixture, banana, chocolate chips and craisins to bowl and stir just to combine into a sloppy dough. Turn out onto a well-floured piece of parchment and knead 3-4 times to help the dough come together a bit.
Roll (using a well-floured rolling pin) or pat dough into a round about an inch thick. Cut out shapes using an approximately 3″ cookie or biscuit cutter. Place biscuits on prepared baking sheet; re-roll or pat the dough and cut out more shapes, until you’ve filled the baking sheet – I usually get somewhere in the neighbourhood of 16-18 biscuits.
Bake 18-20 minutes, rotating pan halfway through. Cool a few minutes on pan, then transfer to a rack and serve very warm, while the chocolate is still gooey.
one.
Posted: August 30, 2010 Filed under: baking, birthdays, buttermilk, cake, chocolate 3 Comments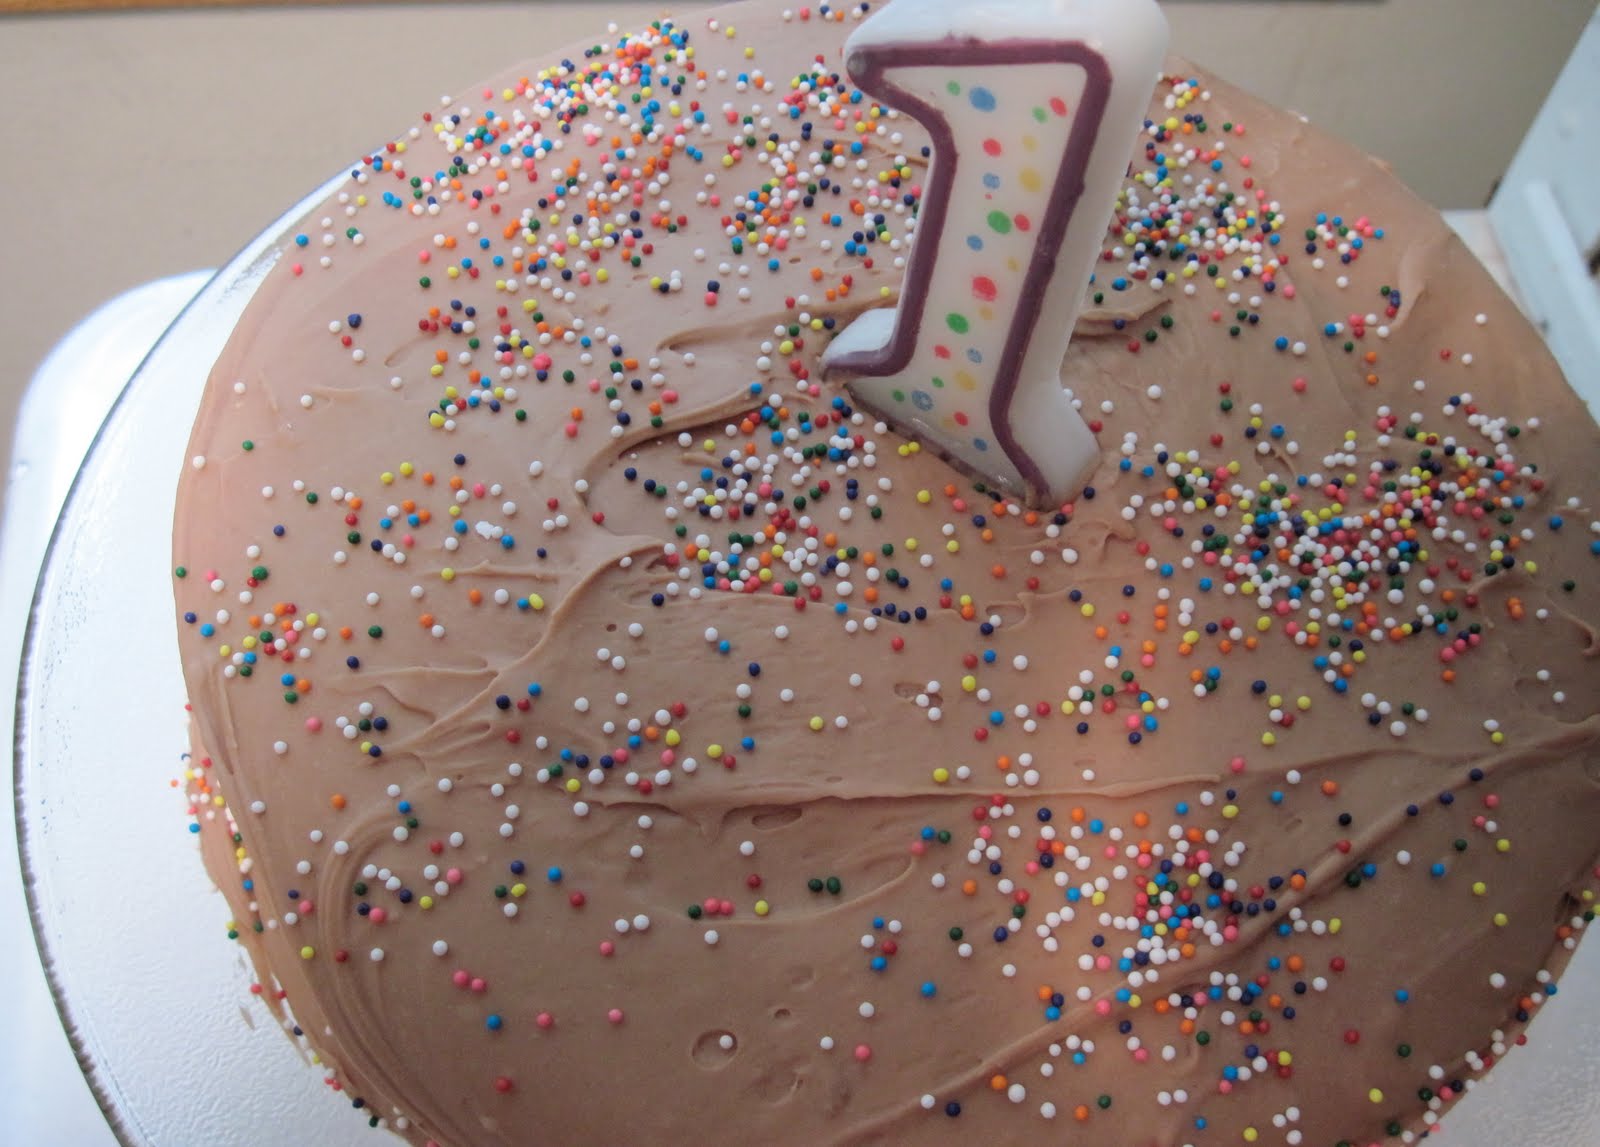
My baby boy had his first birthday recently.
I know how cliche this sounds, but I really don’t know where the year went.
When my daughter turned one, I was thrilled. I marveled at her existence every single day, and each milestone was another chance to celebrate: she was learning, growing, turning more and more into this amazing little person I was so excited to get to know.
When I met other mothers who greeted their babies’ first birthdays with a little less enthusiasm, I was completely perplexed. Why mourn time passed, I wondered, when the present – and presumably the future – was brimming with wonderful things?
These days, I think I understand that ambivalence a little better.
My son’s birth was a harrowing experience, one from which I feel, in many ways, that I am still recovering. After he was born he spent days in the NICU, having his lungs and tiny belly filled by machine, while I was in another room on a morphine drip, feeling like I’d thrown a party to which the guest of honour hadn’t shown up.
After those first dire days came weeks, then months, of management: me learning to manage my pain, my guilt, my disappointment in myself and my inability to bounce back the way I’d have liked.
A series of difficulties, more and less agonizing, arose for me to manage that fall: my son had colic, my husband had to travel extensively for work. A beloved friend and crucial part of my day-to-day support was killed in a bizarre and tragic fashion.
We found out we had to move, and it took us six months of searching before we found a new place to live.
Somewhere in that period, I realized I had spent more than half of my baby’s life distracted by a haze of worry and grief and pain, and I found it utterly crushing to think that I would not get those first months of his life back, ever.
Eventually, as is always the case, we made our through that period of crisis. The big concerns were settled, and the idea of returning to some kind of balance began to seem not so far-fetched.
Throughout my high-wire act, my daughter continued to be the amazing little person I had taken all of the time in the world to get to know, and my son’s personality began to emerge – and he is awesome. Sweet like his sister, and adoring in the way that makes all mothers of boys secretly swoon. He’s smart and quick and daring, chubby and charming.
I am thrilled that he is one whole year old, that he is strong and healthy, that he is learning and growing so quickly. He and I are as thick as thieves, our relationship none the worse for all of my feelings of anguish and guilt.
But if I could, I would turn back the clock – I would stop time. I would go back and marvel at his existence, every single day, from the moment he was born.
Since that is not an option, I will settle for rejoicing in a present – and presumably a future – brimming with wonderful things…and our family will celebrate, all four of us, with cake.
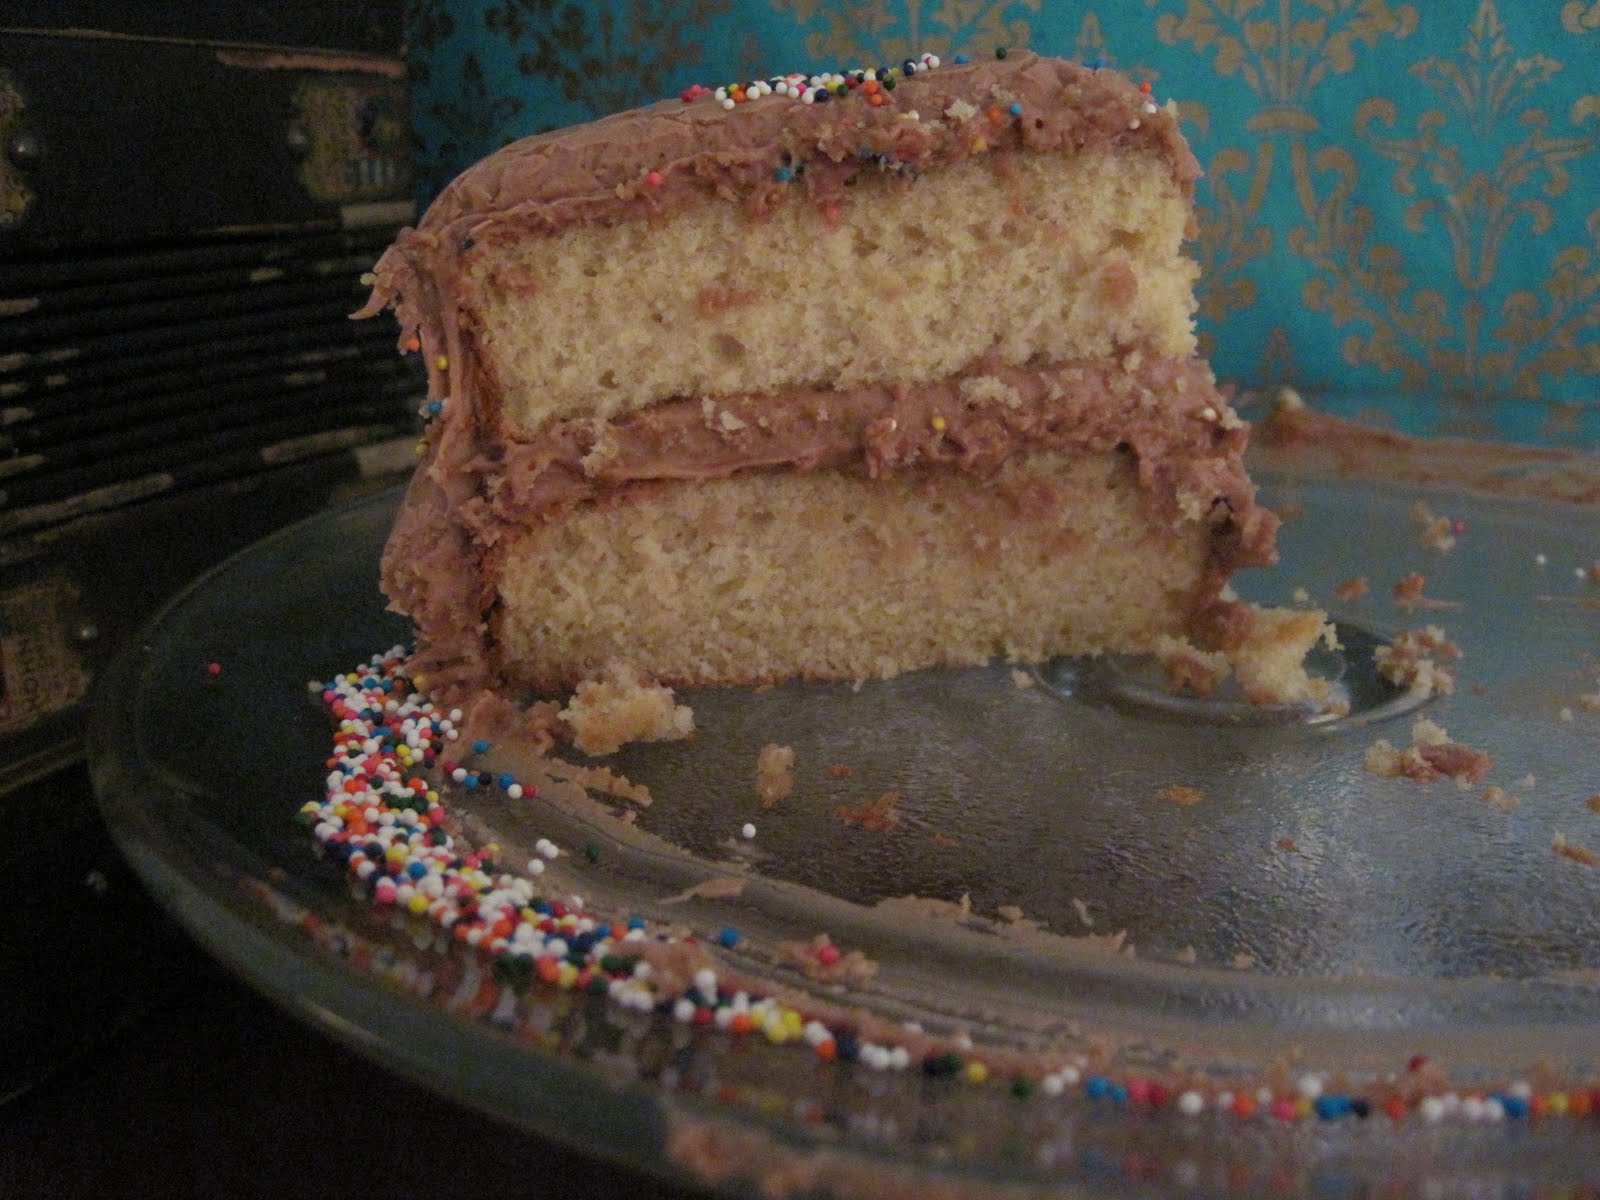
Buttermilk Birthday Cake with Milk Chocolate Icing
(adapted from Nigella Lawson)
I know that it seems counter-intuitive to post such a recipe in these last, dog days of summer, but please, do us both a favour and take note of it for the next time you have a birthday cake to make. Trust me, you won’t regret it – and I promise I will be back tomorrow with something a little more seasonal!
For the cake:
1 2/3c all purpose flour
1 1/2 tsp baking powder
1/2 tsp baking soda
3/4c plus 2 tbsp buttermilk, at room temperature
1 tbsp vanilla
1/2c very soft unsalted butter
3/4c sugar
3 large eggs, at room temperature
Preheat oven to 350 degrees. Butter and line with parchment two 8- or 9-inch round cake pans.
Sift together flour, baking powder, and baking soda in a medium bowl and set aside.
Whisk together buttermilk and vanilla in a glass measuring cup (or other vessel with a spout) and set aside.
Combine butter and sugar in the bowl of an electric mixer fitted with the whisk attachment and beat at medium speed until light and fluffy. Reduce speed slightly and add eggs, one at a time, beating 30 seconds between additions. Add flour mixture and buttermilk mixture in alternating increments, beating well between additions, until a smooth, pale golden batter forms.
(You may find, partway through or even towards the end of the mixing, that your batter looks slightly curdled. Please don’t be alarmed – this has happened to me without fail every time I have made this cake, and it doesn’t affect the end result whatsoever.)
Divide batter evenly between the two prepared pans and bake about 25 minutes, rotating pans halfway through cooking time. The cake is done when it is slightly burnished and beginning to pull away from the sides of the pan. Cool in pans 10 minutes on a rack, then turn cakes out onto the rack to cool completely.
For the icing:
250g milk chocolate, coarsely chopped (or use milk chocolate chips)
3/4c unsalted butter
6 1/2c icing sugar, sifted
1 tsp vanilla
1-2 tbsp milk, if needed
Melt chocolate and butter together in a saucepan over VERY low heat, or in a double boiler, or (although I have never tried this) in a microwave. Transfer to the bowl of an electric mixer fitted with the paddle attachment, and beat in icing sugar and vanilla at medium-low speed. If icing is too thick, thin with a little milk.
When cakes have cooled completely, trim of the domed top of each cake. Place one cake, cut side up, on a platter or cake stand. Scoop a generous amount if icing onto this bottom cake (there will be plenty of icing, so don’t be skimpy on the filling) and spread it out evenly with an offset spatula or table knife.
Invert second cake onto the iced bottom layer. Use remaining icing to generously frost the top and sides of the cake (there may be some icing leftover).
Serves 8.
d-day.
Posted: June 20, 2010 Filed under: chocolate, cream cheese, cupcakes, root beer Leave a comment My kids have the best dad ever.
Root Beer Cupcakes
adapted from Smitten Kitchen
I had a couple of cans of root beer in the fridge leftover from my pregnancy, and this seemed like a great excuse to crack them open. Note that these cupcakes are super moist and freeze very well – which may or may not be good news if, like me, you find having 24 cupcakes sitting on your counter to be tempting in the extreme.
Cupcakes
2c root beer
1c cocoa powder
1/2c unsalted butter, cut into 1-inch pieces
1 1/4c granulated sugar
1/2c firmly packed dark brown sugar
2c all-purpose flour
1 1/4 tsp baking soda
2 eggs
Frosting
500g icing sugar
1c soft butter
250g soft cream cheese
1 tbsp rum
For the cupcakes:
Preheat oven to 350°F. Line 24 cupcake cups with paper liners. In a small saucepan, heat the root beer, cocoa powder and butter over medium heat until the butter is melted. Add the sugars and whisk until dissolved. Remove from heat and let cool.
In a large bowl, whisk together flour and baking soda.
In a small bowl, whisk the eggs until just beaten then whisk them into the cooled cocoa mixture until combined.
Gently combine the liquid and flour mixtures together in the large bowl (batter will be slightly lumpy).
Use a 1/4c measure to fill cupcake liners and bake cupcakes, rotating trays halfway through, until a tester inserted into the center of each comes out clean, about 15-17 minutes.
Transfer pan to a wire rack to cool completely.
When cupcakes are cooled, make frosting:
Place icing sugar in the bowl of the food processor and blast for a few seconds to remove any lumps. Pulse in butter and cream cheese, and then rum.
Using an offset spatula or a table knife, dollop and spread frosting onto tops of cupcakes.
Makes 24.
waking and baking.
Posted: June 4, 2010 Filed under: baking, bananas, chocolate, muffins Leave a comment(with sheepish thanks to my friend Eden, from whose delightful blog post I ripped off this title)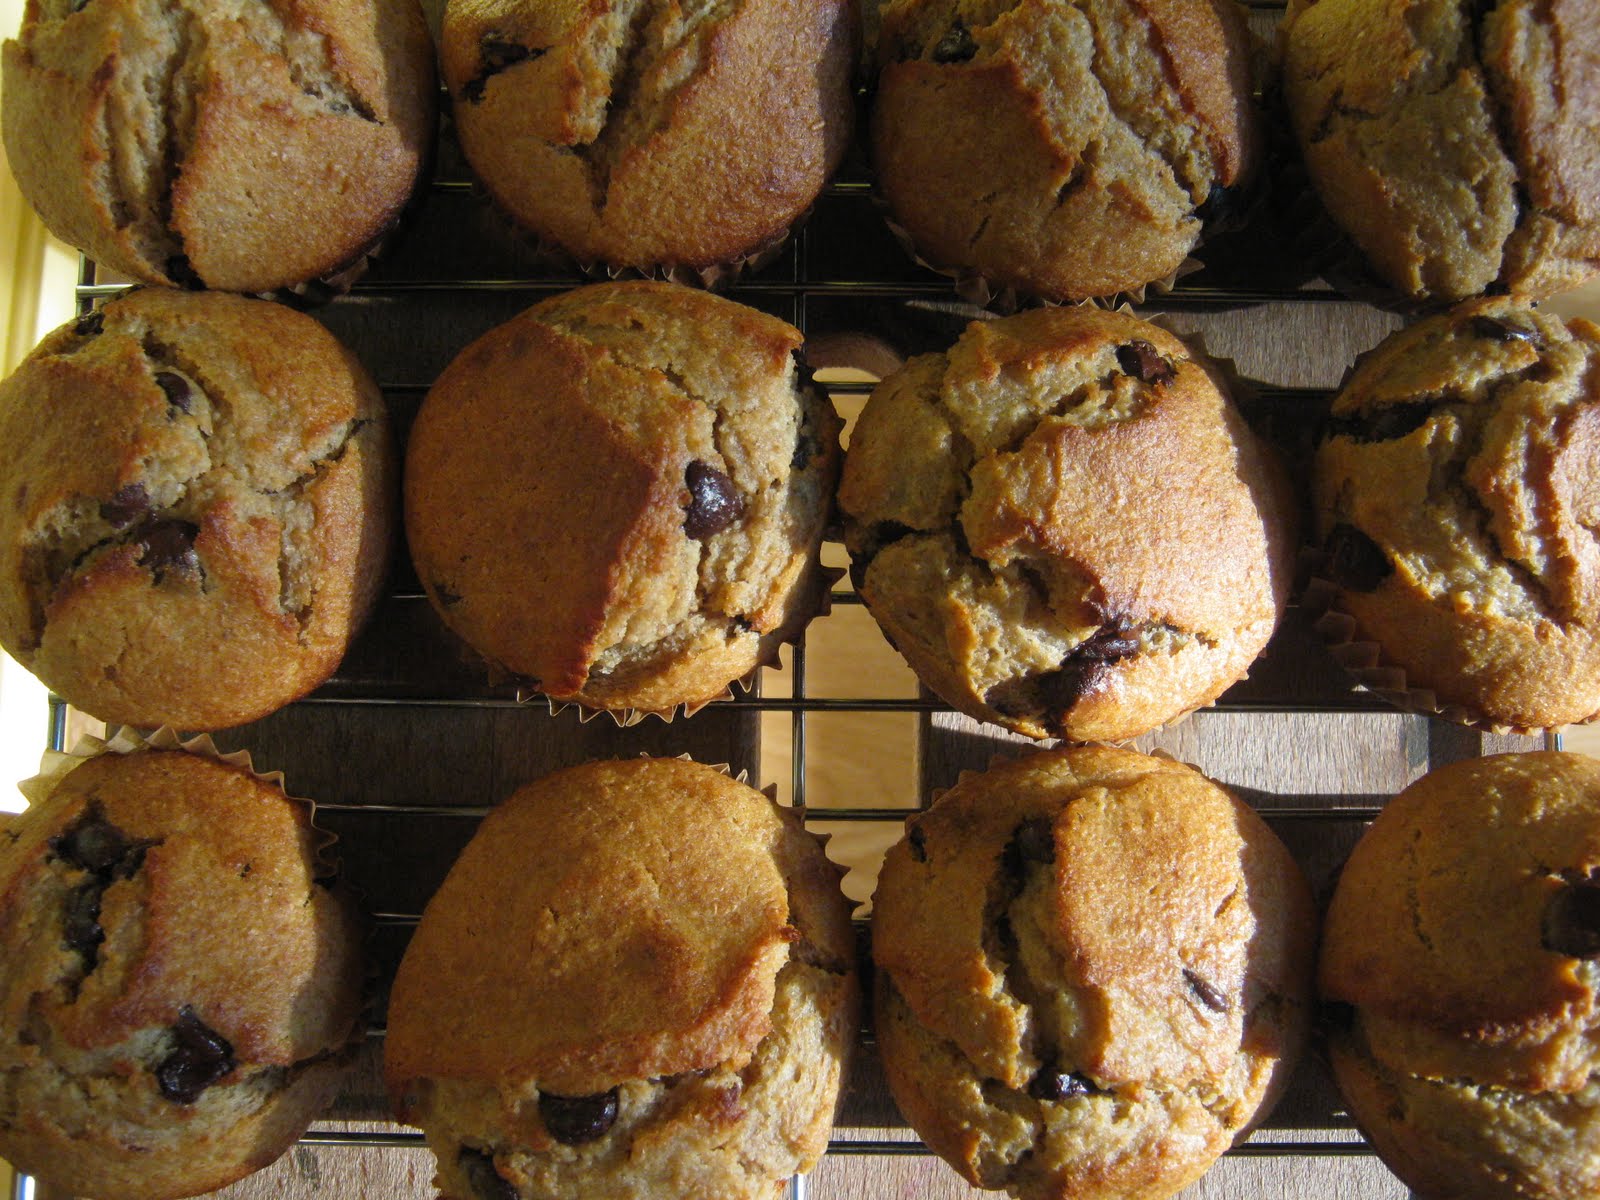
We all have our morning rituals, the idiosyncratic routines without which we spend the rest of the day feeling slightly off.
Personally, although I have learned to live largely without caffeine these last couple of years, and my drinking alcohol in the morning is limited to the occasional mimosa, I find it very, very difficult to begin my day without some kind of baking, preferably still slightly warm from the oven.
During the recent heat wave in our city, it took me several days of being out of sorts and saying ferocious things to anyone I met who dared utter the words, “we have air conditioning, but we prefer not to use it unless we really need it,” before I realized that a large part of my attitude problem had to do with eating a cold breakfast every morning.
Necessity being the mother of invention (and greed being an incredibly powerful motivator), I decided to try to come up with a warm weather-friendly strategy: rather than giving up the waking and baking altogether, the trick was to make up a recipe so easy and fast that the kitchen barely had time to heat up before I was pulling some yummy thing out of the oven.
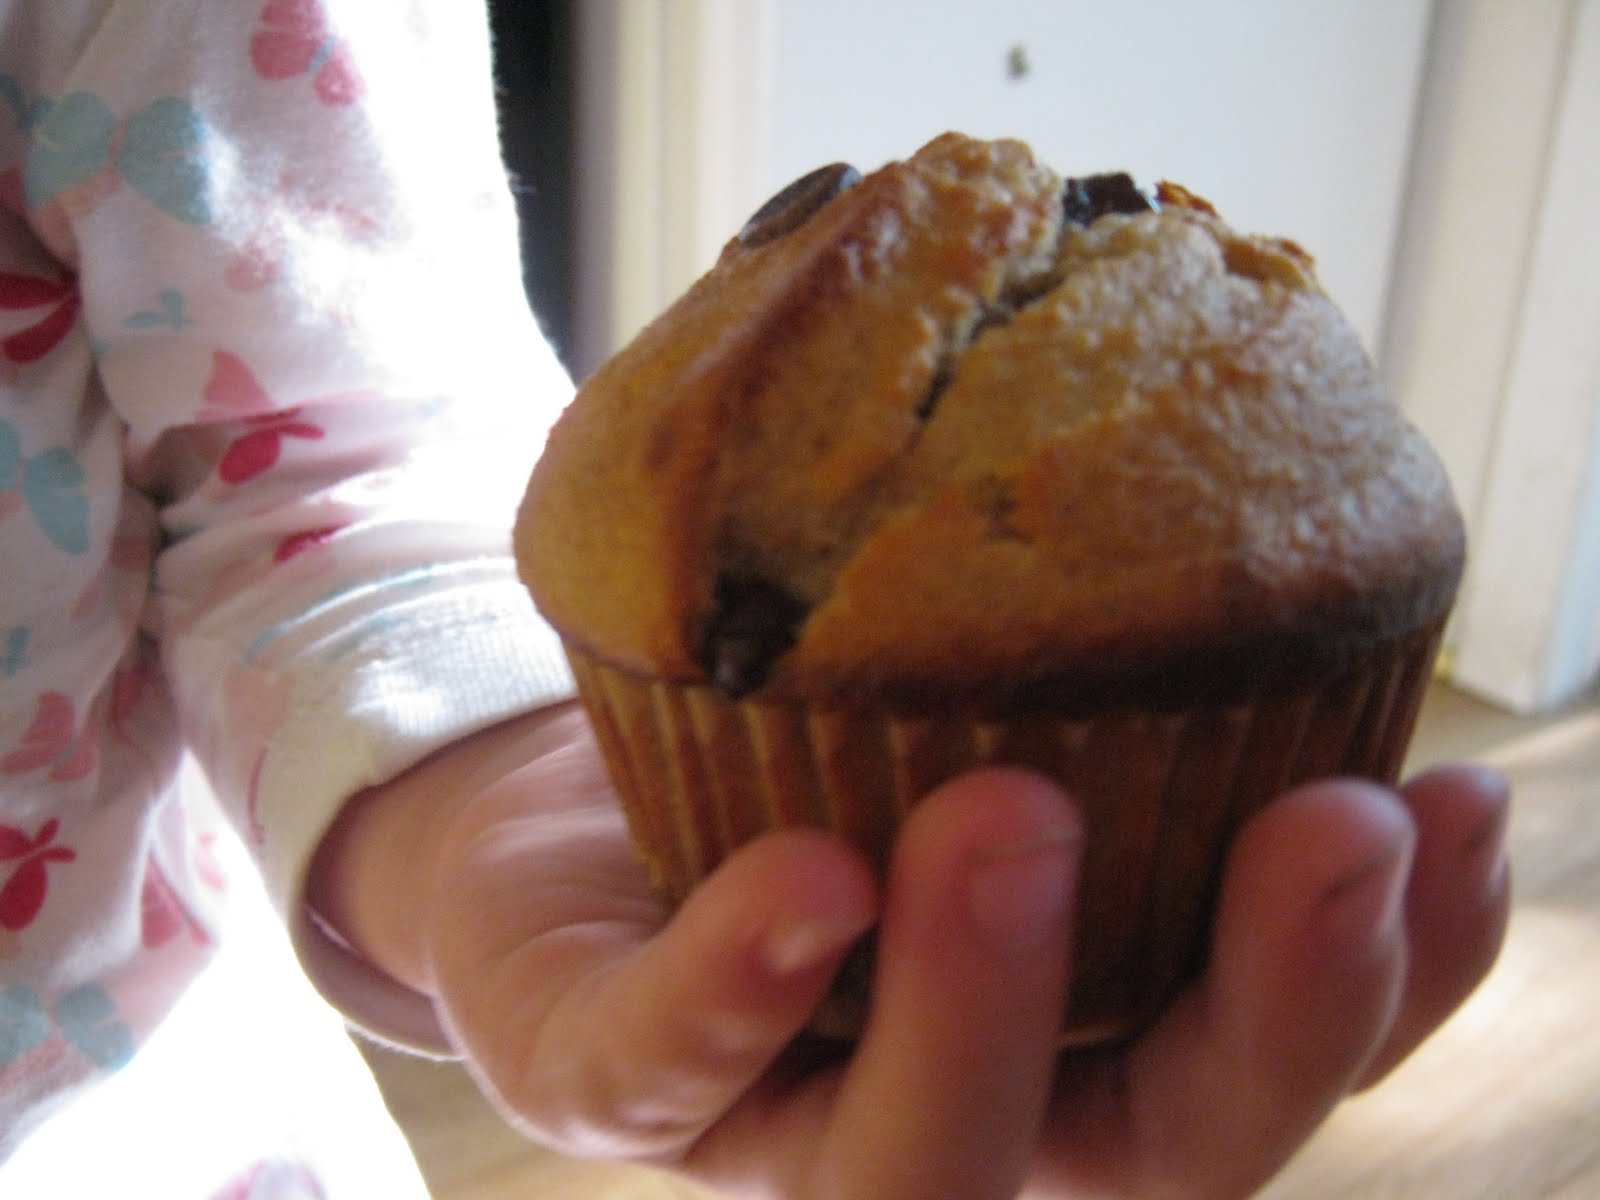
With the help of my willing family and what must be the hardest-working ceiling fan in the GTA, I came up with these muffins.
And I have to tell you that, even though the temperature is more moderate now than it was last week, I still can’t get enough of them.
 Muffins for Hot Mornings
3 very ripe bananas
1/2c oil (I use coconut oil because I’m obsessed with it these days, but go ahead and use whatever you’ve got)
2 eggs
1 tsp vanilla
1/2c thawed apple juice concentrate
1 2/3c whole wheat flour
1/2 tsp baking soda
1 tsp baking powder
1 tbsp instant espresso powder
3/4c chocolate chips
In a food processor, combine bananas, oil, eggs, vanilla and apple juice concentrate and process until smooth.
In a small bowl, whisk together flour, baking soda, baking powder, and espresso powder.
Add flour mixture to food processor and process until all ingredients are combined.
Scrape batter into a large mixing bowl and fold in chocolate chips.
Preheat oven to 400 degrees.
While oven is preheating, line a 12-cup muffin tin with paper cups.
Divide batter evenly among muffin cups, and bake 17 – 18 minutes.
Remove from heat (and turn oven off immediately!) and cool 10 minutes or so in pan before transferring to a wire rack.
Serve immediately, or allow a little time to cool.
Makes a dozen.
crumbs.
Posted: March 15, 2010 Filed under: cake, chocolate 1 Comment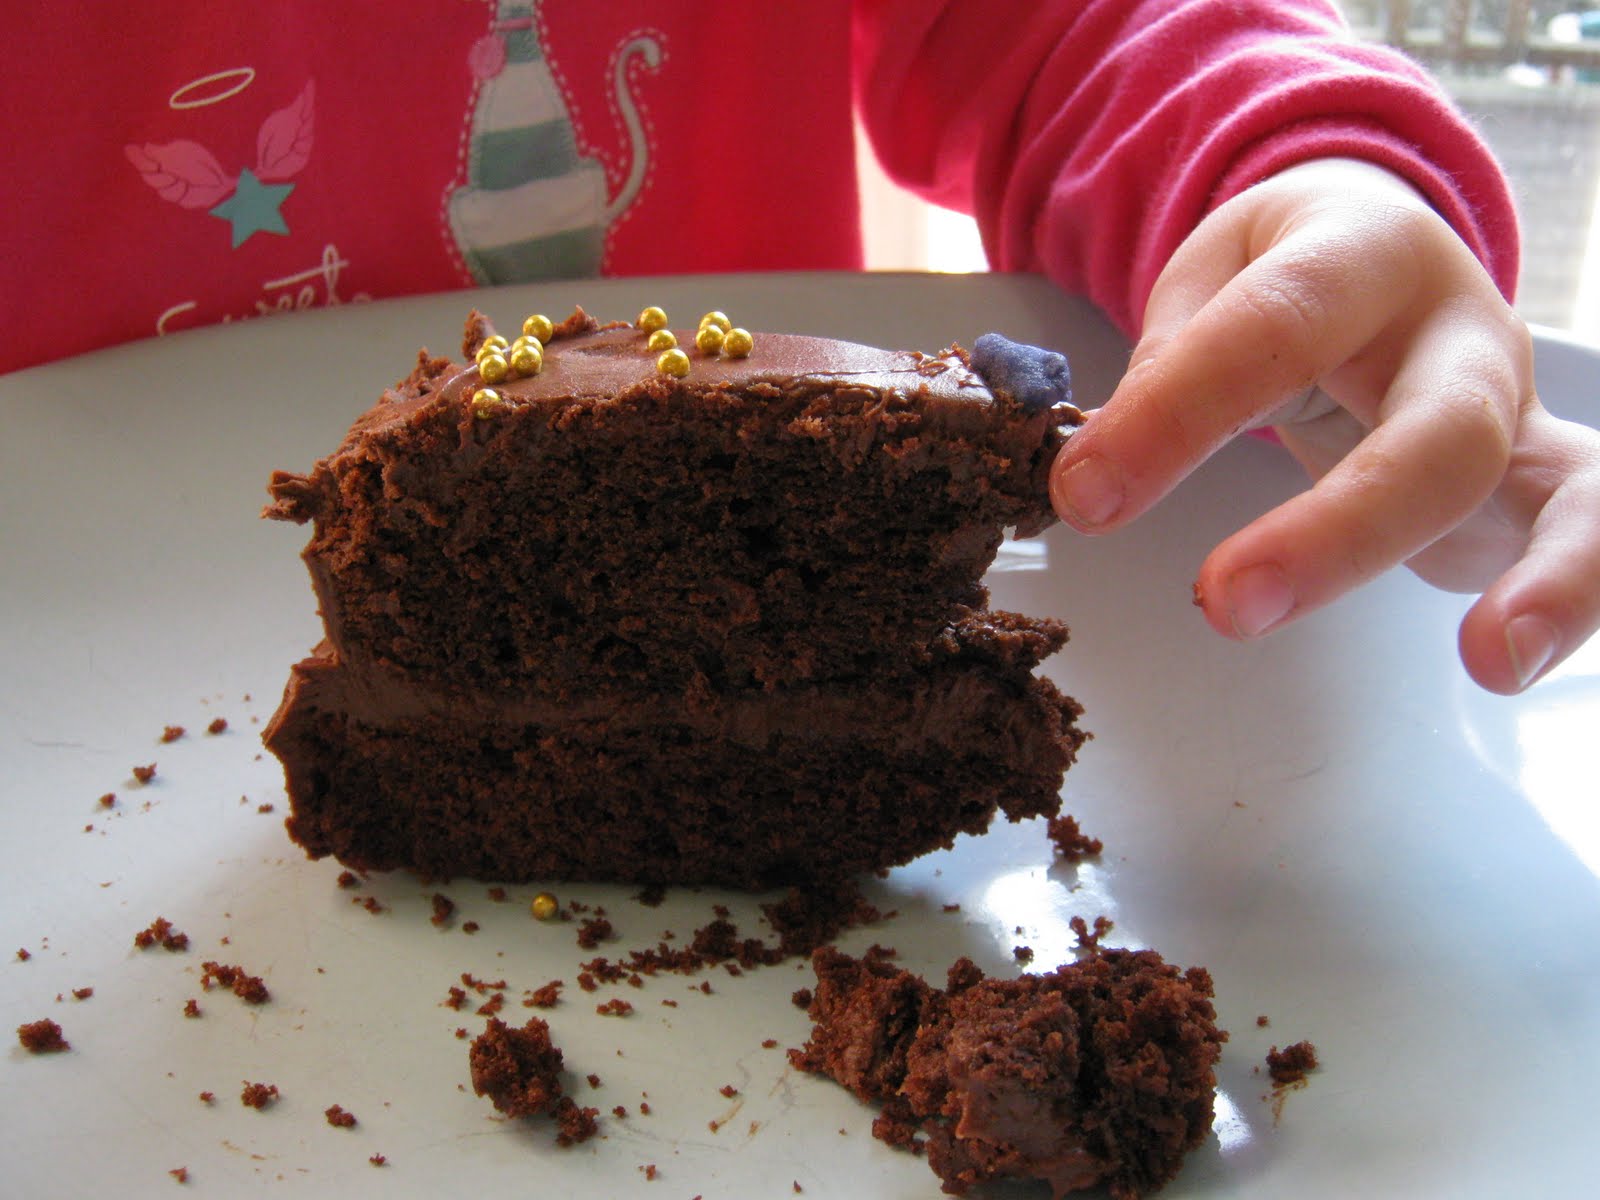 These are not the photos I had intended for this post.
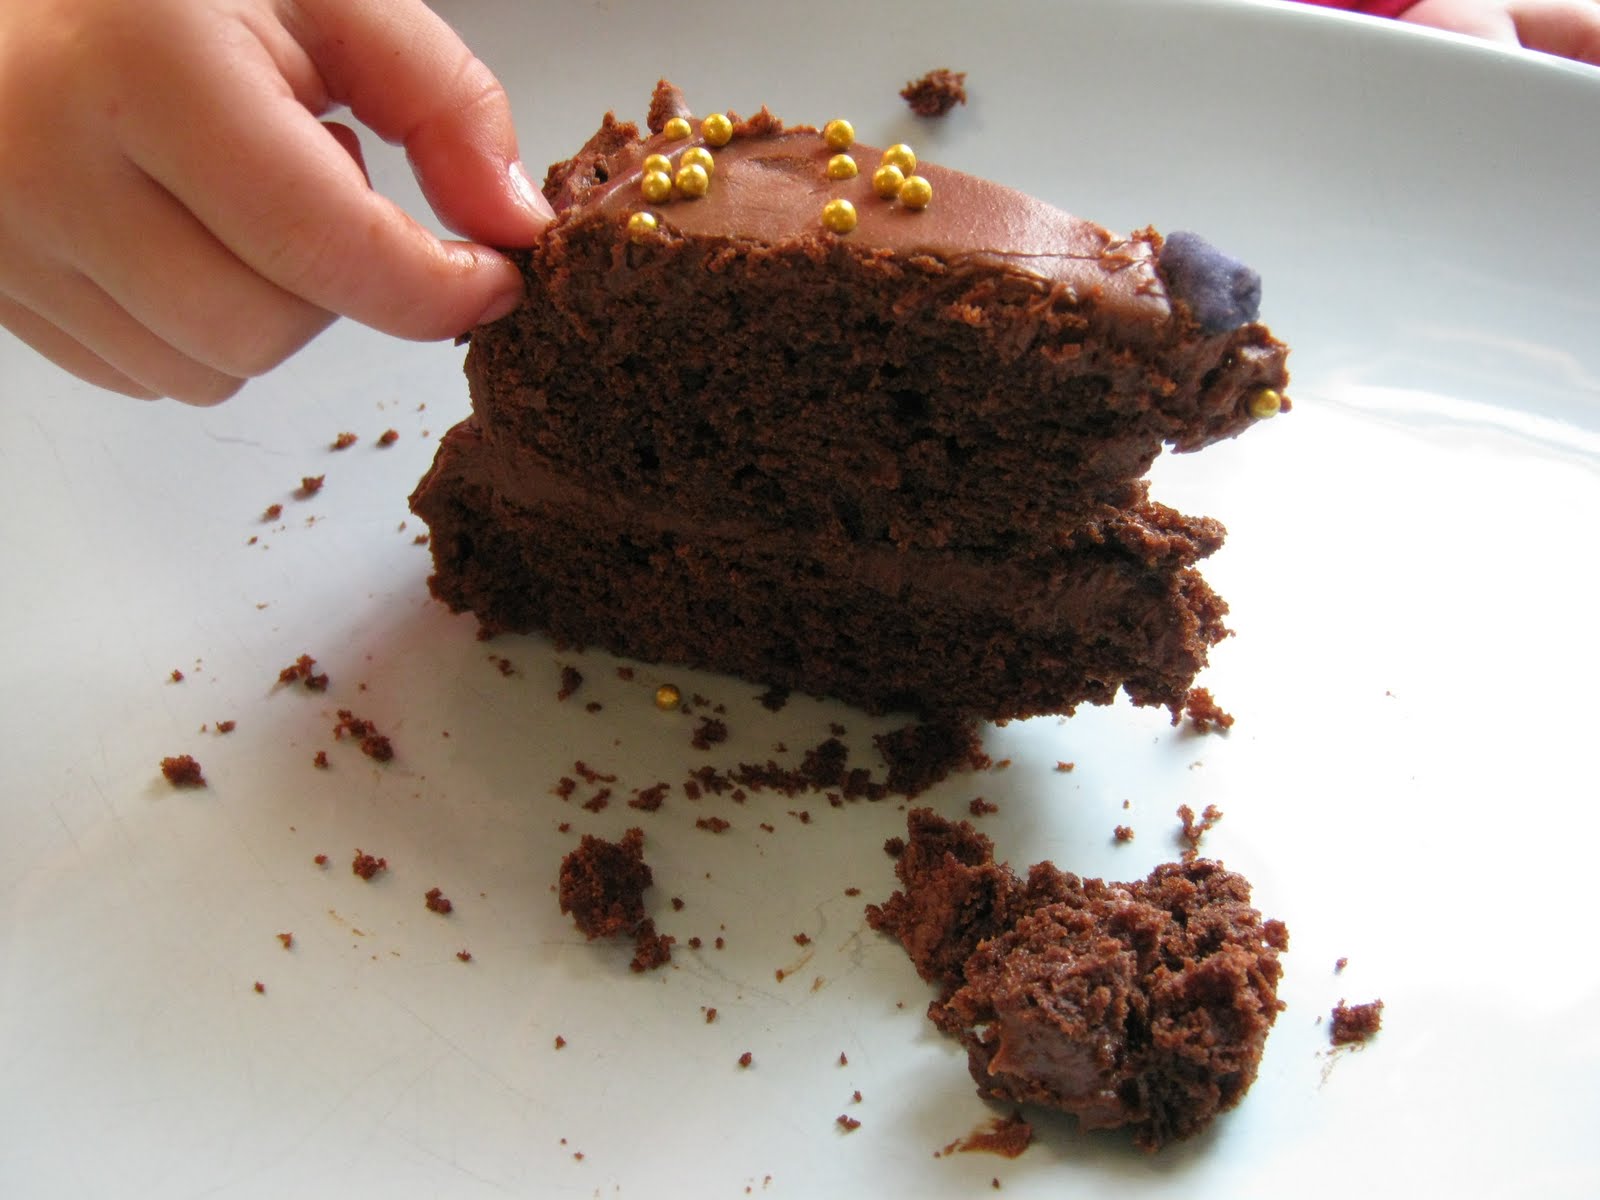
I had actually been hoping for something more like this, but without the glare – because in real life, this cake is a splendid looking creation:
Still, March so far has been such a month of highs and lows, cheers one moment and tears the next, that it seemed more reasonable to let everyone get their hands into the photo (and into the cake) than not.
I made it twice this week – yes, it’s that good! And it’s that easy! – and would have gone for a third, even if just for the photo op, but the rest of my life has been encroaching on my time in the kitchen lately.
I should have reason to make one more celebratory cake in the very near future, though, and when I do, this will be the one.
Easy Does It Chocolate Cake
Adapted from Nigella Lawson
The ingredients in the original recipe for this are measured by weight, which I recognize is not easy for everyone, so I’ve included approximate traditional measurements as well for everything but the icing sugar, which I find easier to eyeball anyway. In an ideal world, all of the ingredients would be at room temperature before you started, but please don’t let that be the deal-breaker.
The Cake:
200g (1 1/2c) all purpose flour
200g (1c plus 2 tbsp) sugar
40g (1/2c) cocoa powder
1 tsp baking powder
1/2 tsp baking soda
175g (3/4c) unsalted butter
2 eggs
1 tbsp vanilla extract
2/3c sour cream
The Icing:
75g (1/4c plus1-2 tbsp) unsalted butter
175g (6 oz.) best-quality dark chocolate
300g icing sugar
1 tbsp liquid honey
1/2c sour cream
1 tsp vanilla extract
Preheat oven to 350 degrees. Lightly grease two 8-inch round cake pans and line their bottoms with parchment.
Place all of the cake ingredients in the food processor (seriously!) and process until a smooth, thick batter is formed. Divide the batter evenly between the two prepared pans and bake in the middle of the oven about 25 minutes, or until a cake tester inserted in the centre comes out clean. Cool cakes 10 minutes in their pans and then invert onto a rack to cook completely.
When cakes have cooled, make the icing:
Combine butter and chocolate in a large bowl and set over a pan of barely simmering water, stirring occasionally, until chocolate is melted and mixture is smooth. Set aside to cool slightly.
Place the icing sugar (I usually eyeball, just over half of a 500g bag to start with the intention of adding more if needed) in the bowl of the food processor and pulse a few times to get rid of any lumps.
Add honey, sour cream, and vanilla to cooled chocolate mixture and beat with a spatula until smooth.
With processor running, add chocolate mixture to icing sugar. Icing should be glossy and spreadable, but thick enough that it will not drip off the cake. If you find you need more icing sugar, add it by tablespoonsful until desired consistency is reached.
Place one cooled cake on a cake plate, up (rounded) side down. Spread about a third of the icing onto the bottom cake, then top with second cake, this one right side up. Spread remaining icing over the top and sides of the cake.
Decorate however you see fit, or not at all.
hello, babycakes!
Posted: March 5, 2010 Filed under: baking, bananas, chocolate 4 Comments
My family recently decided to dip a toe into the icy waters of gluten-free eating.
I know you don’t know me that well yet, but you may have already guessed at my level of enthusiasm for such an endeavor – I mean really, I’ve only just begun to welcome dairy back into my daily life, and now we’re giving up wheat? Need I remind you that wheat, not unlike butter, factors prominently in practically everything that is delicious in my diet?
Thankfully I am not the beer drinker in my family, so all is not lost.
Still, I do adore baking (as a noun as well as a verb) and I have not had very many experiences with gluten-free baked goods that I would describe as palatable, let alone tasty.
At least I hadn’t before yesterday.
The above is a photo of my first ever attempt at gluten-free baking, and it was nothing short of spectacular. Honestly. Not heavy and crumbly, not dry, not a tiny little sorry excuse for a loaf, but a lovely, treaty, moist, tasty banana bread. I am paying the highest possible compliment when I say that it didn’t taste healthy at all.
The recipe came from the BabyCakes cookbook. The book’s author, Erin McKenna, is a little militant in her insistence that you follow her directions to the letter, which was a bit of a challenge for me as I have a pathological need to fiddle with recipes. So I did fiddle with this one, but barely at all.
And I’m lucky I got that photo when I did, because minutes later the plate was empty.
I wouldn’t call our foray into the world of the gluten-free a full-on conversion just yet, but if we ever do turn our backs on wheat entirely, baking like this will definitely ease the withdrawl pangs.
Banana Chocolate Chip Bread
adapted from BabyCakes
Where we live, it is cool enough that my coconut oil was solid in its container, so I warmed it in a saucepan set over low heat before using. Also, Erin McKenna insists that ALL ingredients must be measured using dry ingredient measuring cups (not the glass ones with the spouts), so that’s what I did.
2 c Bob’s Red Mill Gluten Free All-Purpose Baking Flour
2 tsp baking powder
2 tsp baking soda
1 tsp xanthan gum
1 tsp salt (optional – I didn’t use any)
1 tsp ground cinnamon
1/2 c coconut oil, plus more for the pan
2/3 c agave nectar
2/3 c milk (Babycakes calls for rice milk, but I used regular old skim milk, because that’s what I had)
1 tsp vanilla
3 mashed organic bananas (about 1 1/2 cups)
1 c chocolate chips
Preheat oven to 325 degrees.
Using coconut oil, lightly grease a loaf pan – mine is an old Pyrex one, measuring 8.5″ X 5.5″ X 2.5″.
In a medium bowl, whisk together flour, baking powder, baking soda, xantham gum, salt (if using) and cinnamon.
In a large glass measuring cup or jug, whisk together coconut oil, agave nectar, milk, and vanilla. Add to dry ingredients and stir until batter is smooth. Gently fold in bananas and chocolate chips until they are evenly distributed throughout the batter.
Pour batter into prepared pan and bake in the centre of the oven for 55-60 minutes, turning pan 180 degrees halfway through cooking time. If the top of the loaf begins to darken before the middle is cooked (as happened to me), cover loosely with foil for the remainder of the cooking time.
Bread is cooked when a tester inserted into the centre comes out mostly clean.
Cool 20 minutes in pan, then run a knife around the edge of the bread and gently invert onto a cutting board. Lift the pan away, and then re-invert the bread onto another board. Cool completely before storing, or cut and serve warm.
